Canning peppers is one of the best ways to preserve the vibrant flavor of summer’s harvest and enjoy it all year long. Whether you love sweet bell peppers or fiery hot chili peppers, canning helps lock in freshness while giving you a versatile pantry staple that works in countless dishes.
From tacos and stir-fries to pasta and sandwiches, canned peppers bring instant flavor and texture to your meals. The process is surprisingly simple and requires just a few basic ingredients and tools. By following safe canning methods, you can stock up your pantry with jars of peppers that are ready whenever you need them.
This recipe uses a simple vinegar brine to keep the peppers crisp and flavorful. It’s a tried-and-true method for both beginners and seasoned canners, making it an excellent addition to your homemade preserves collection.
🕒 Cooking Time & Serving
- Prep Time: 20 minutes
- Processing Time: 15 minutes
- Total Time: 35 minutes
- Servings: Makes about 6 pint jars
🥘 Ingredients
- 3 lbs fresh peppers (bell peppers, banana peppers, jalapeños, or mixed)
- 5 cups vinegar (5% acidity, white or apple cider vinegar)
- 1 cup water
- 2 tbsp canning salt (not table salt)
- 2 cloves garlic (optional, peeled)
- 1 tbsp sugar (optional, balances acidity)
- Sterilized pint jars with lids and bands
👩🍳 How to Make (Step-by-Step)
- Prepare Jars
Wash and sterilize your jars, lids, and bands. Keep jars warm until ready to use. - Wash & Slice Peppers
Rinse peppers thoroughly. Remove stems, seeds (optional), and slice into rings or strips. - Make the Brine
In a saucepan, combine vinegar, water, canning salt, and sugar (if using). Bring to a boil. - Pack Jars
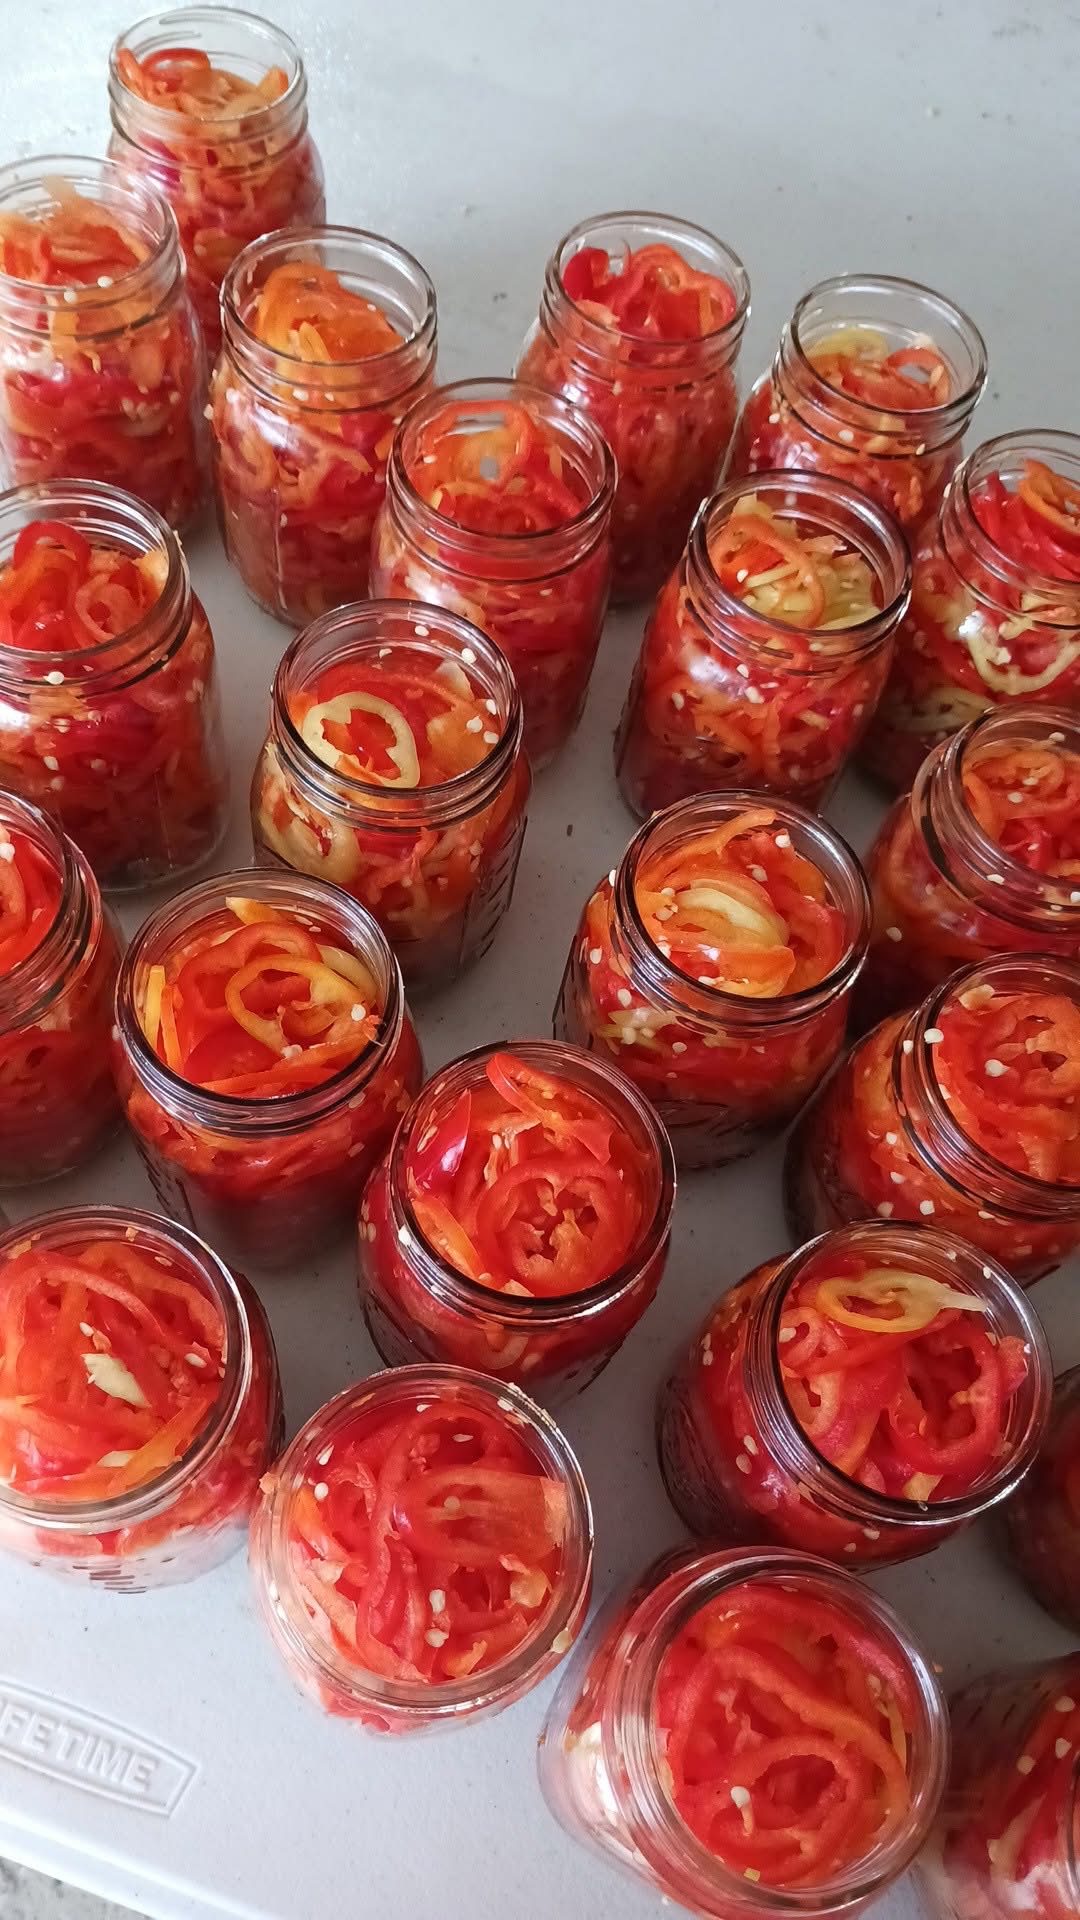
Place peppers tightly into hot jars. If desired, add one garlic clove per jar. - Add Brine
Pour hot brine over peppers, leaving ½ inch headspace at the top. Remove air bubbles by sliding a spatula around the inside. - Seal Jars
Wipe jar rims with a clean damp cloth, place lids, and screw bands fingertip-tight. - Process Jars
Place jars in a boiling water canner, ensuring they are fully submerged. Process for 15 minutes (adjust for altitude if necessary). - Cool & Store
Remove jars and let cool for 12–24 hours. Check seals before storing in a cool, dark place.
📝 Notes
- Always use 5% acidity vinegar for safe preservation.
- Peppers can be canned plain, pickled, or with added spices (like oregano, mustard seeds, or bay leaves).
- For more heat, mix hot peppers with sweet ones. For less heat, remove all seeds.
- Shelf life: Properly sealed jars last 12–18 months.
❓ FAQs
1. Can I use apple cider vinegar instead of white vinegar?
Yes, as long as it is 5% acidity.
2. Do I need to pressure can peppers?
Not for this recipe. The vinegar brine makes it safe for water-bath canning.
3. Why did my peppers turn soft?
Over-processing or old peppers may cause softness. Use fresh, firm peppers and avoid over-boiling.
4. How do I know if my jars sealed properly?
The lids should not pop up when pressed. If unsealed, refrigerate and use within a week.
🍽 Nutrition (Per Serving – 2 tbsp canned peppers)
| Nutrient | Amount |
|---|---|
| Calories | 10 |
| Carbs | 2g |
| Protein | 0g |
| Fat | 0g |
| Fiber | 0.5g |
| Sodium | 120mg |
(Values vary depending on pepper variety and added sugar/salt.)
⚠️ Disclaimer
Enjoy this pepper canning recipe as part of a balanced diet. Always follow safe canning guidelines to prevent foodborne illness. If you have allergies to peppers, garlic, or vinegar, avoid this recipe. Moderation is key, especially if you’re watching your sodium intake.
Leave a Comment