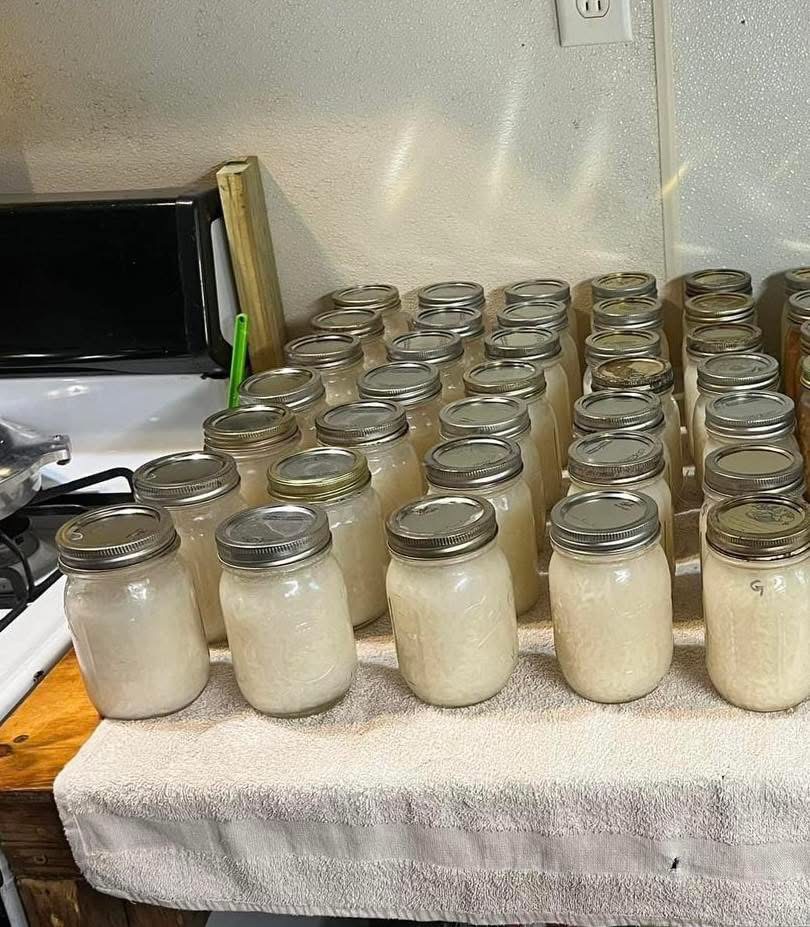
Rice is one of the most versatile and widely consumed foods around the world. Whether you enjoy it as a side dish, in soups, or as the base of a hearty meal, having ready-to-use rice on hand saves both time and effort. Canning rice is an excellent way to preserve it for long-term storage while maintaining its texture and flavor.
While many people rely on packaged or instant rice, home-canned rice is healthier, fresher, and free of preservatives. It’s also incredibly convenient—simply open a jar, heat, and serve. This method is especially helpful for busy households, meal preppers, or anyone looking to build a well-stocked pantry.
In this recipe, we’ll walk through how to safely can rice using a pressure canner. Following proper steps is essential to avoid spoilage and ensure food safety, so be sure to follow instructions carefully.
Cooking Time & Serving
- Prep Time: 20 minutes
- Processing Time: 20–25 minutes (varies by jar size)
- Total Time: 45 minutes
- Yield: About 7 pint jars or 4 quart jars
Ingredients
- 6 cups uncooked white rice (do not use brown rice; it does not can well)
- 12 cups water (for partially cooking rice)
- Additional boiling water or broth for filling jars
- 1 ½ tsp salt (optional, for flavor)
How to Make Canned Rice
- Prepare the Rice
- Rinse rice under cold water until water runs clear.
- Bring 12 cups of water to a boil in a large pot, add rice, and cook for 6–7 minutes only (parboil; do not cook fully). Drain well.
- Fill the Jars
- Pack the hot parboiled rice into sterilized pint or quart jars, leaving about 1-inch headspace.
- Add ¼ tsp salt per pint (or ½ tsp per quart) if desired.
- Fill jars with boiling water or broth, maintaining 1-inch headspace.
- Seal the Jars
- Wipe jar rims clean, place lids on top, and screw bands until fingertip-tight.
- Process in a Pressure Canner
- Place jars in pressure canner.
- Process at 10 pounds of pressure (adjust for altitude if necessary):
- Pints: 20 minutes
- Quarts: 25 minutes
- Cool & Store
- Turn off heat and allow the canner to return to normal pressure naturally.
- Remove jars and let them cool for 12–24 hours.
- Check seals, label, and store in a cool, dark place for up to 12–18 months.
Notes
- White rice only: Brown rice contains oils that can go rancid and is not recommended for canning.
- Always use a pressure canner, not a water bath, to avoid the risk of botulism.
- Rice may expand slightly during canning; avoid overfilling jars.
- For added flavor, use chicken, beef, or vegetable broth instead of water.
FAQs
Q: Can I can fully cooked rice?
No. Fully cooked rice tends to become mushy after pressure canning. Parboiling ensures the best texture.
Q: How long will canned rice last?
When stored properly, it lasts 12–18 months.
Q: Can I add vegetables or meat to the jars?
Yes, but the processing time may change depending on the added ingredients. Always follow safe canning guidelines.
Q: Can I use brown rice or wild rice?
Not recommended, as the oils in these grains can spoil. Stick with white rice.
Nutrition (Per 1 cup serving, approx.)
| Nutrient | Amount |
|---|---|
| Calories | 205 |
| Protein | 4 g |
| Carbohydrates | 45 g |
| Fiber | 1 g |
| Fat | 0.5 g |
| Sodium (with salt) | 200 mg |
(Values vary depending on broth or seasonings used.)
Disclaimer
This rice canning recipe is a safe and healthy way to store rice long-term when prepared with proper pressure canning methods. Always follow tested guidelines to reduce risks of spoilage or foodborne illness. Enjoy in moderation, and if you have dietary restrictions (e.g., low-sodium diets), adjust ingredients accordingly.

Leave a Comment